


Good morning everyone! Today I'm finally going to explain the process of turning our recently built farmhouse table into the finished one we are in love with today!
As you may have read, we built this farmhouse table:
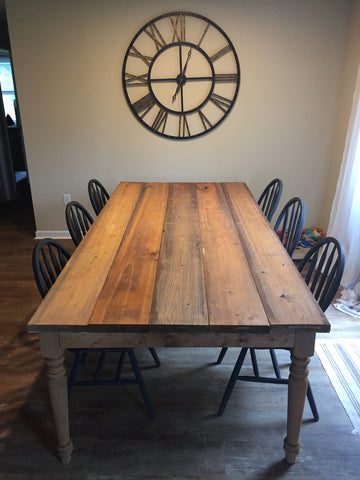
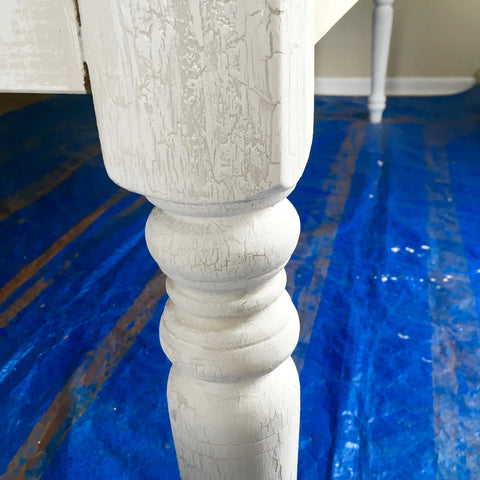
I thought about leaving the natural wood, but my heart was set on black chairs with a white table. I wanted that older look, so I went with Miss Mustard Seed's milk paint in farmhouse white.
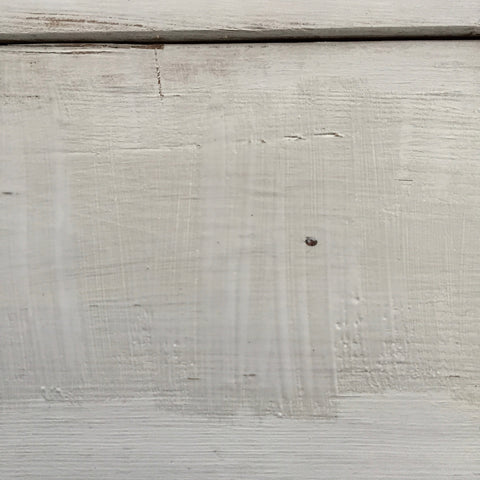
The first coat went on with minimal coverage- the wood looked whitewashed as opposed to painted.
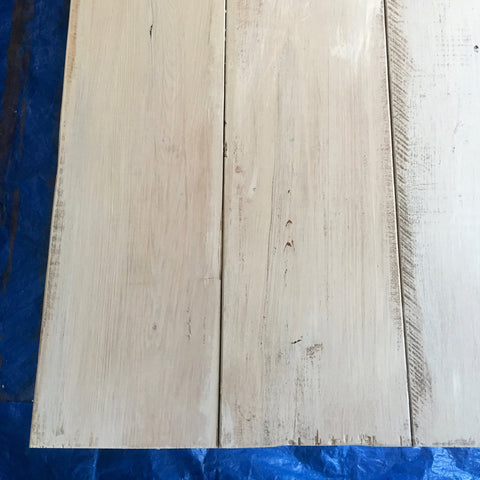
I did love the wood showing through, the character of the uneven strokes, and the charm brought out from the nicks and dents. I then added a second coat.
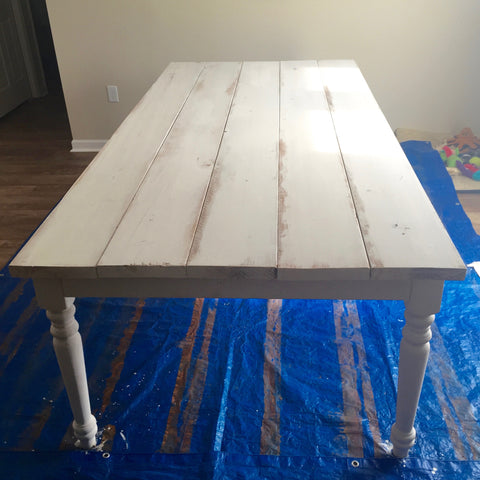
The second coat definitely added more coverage, but I wasn't getting the chippiness I was looking for.
I think because my pieces are usually new wood or sanded down, I don't get those gorgeous cracks and chips that milk paint is famous for. I was disappointed, but determined! I looked up some "recipes" online of how to get paint to crackle. I found there are mediums specifically for that purpose, but with such a large table I didn't want to invest in an expensive paint additive and then not get the results I was looking for.
I went with the cheap alternative: children's school glue and chalk paint. The process is simple.
Once the original layer of paint has dried, add a thick layer of glue. I used a cheap paintbrush.
Let the glue dry to a tacky consistency. If the glue gets too dry the process won't work, but if it's too wet I had trouble painting on top of the glue. It's not an exact science, just a little guess work. Then I used pre-mixed chalk paint for the next layer. I chose chalk paint instead of milk paint for a few reasons.

I wanted to keep the table white, but I knew I needed a different shade or type of white to see the cracks and chips correctly. My concern with using the milk paint was that I wouldn't be able to see these perfect imperfections. I was also running low and didn't want to keep mixing up new batches- especially when I wasn't sure how it would react with the glue.
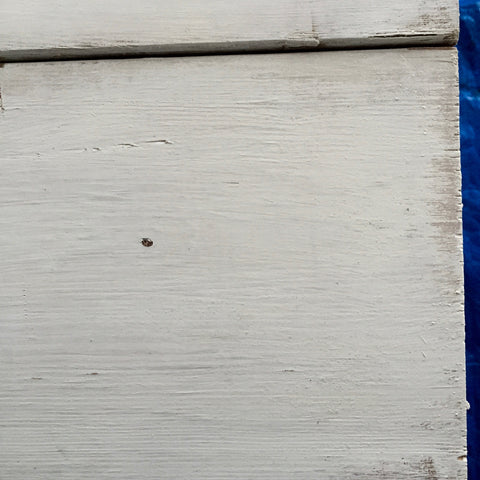
After I painted on a thick layer, I left it alone to dry. The image below is after 1 hour of drying time. You can see there are still wet areas and bubbles.
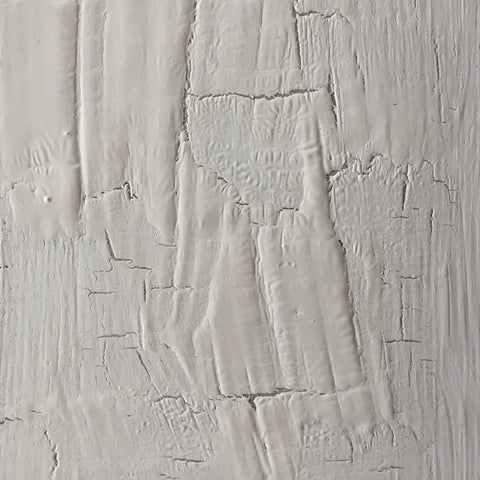
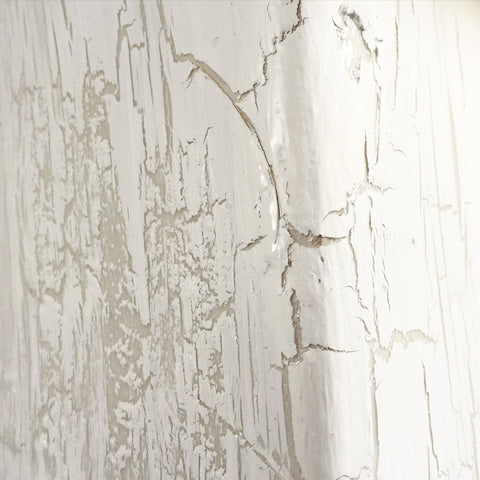
I decided to leave the table to dry overnight. In the morning, I had this perfect chippy cracked goodness:
(all of the heart eye emojis here).
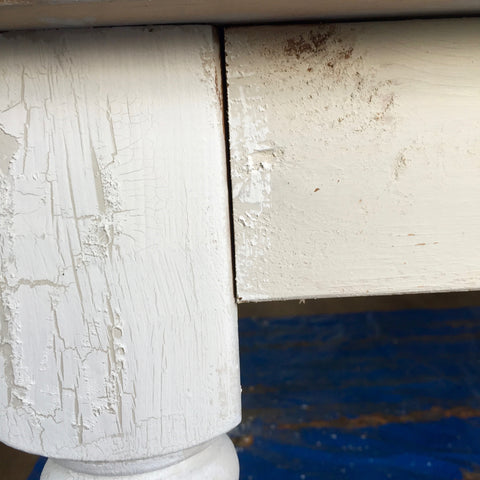
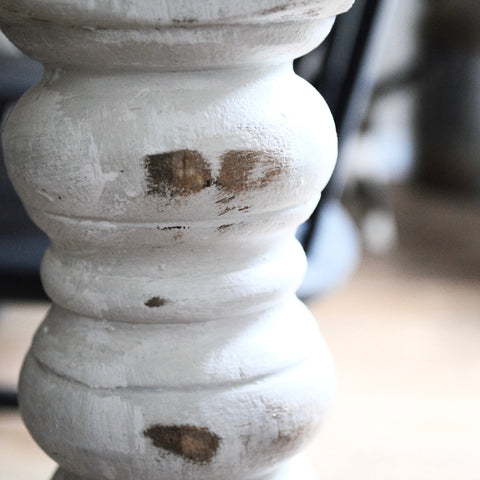
I did the table in parts, so you can really tell difference before and after on this junction of the leg and sideboard.
I finished the whole table and I was starting to really love the look of it; but as always, I wanted MORE. I almost thought the chipping and cracking looked too uniformly done.
I brought out my favorite little sander and went to town chipping off large chunks of paint and distressing the table. When I finally finished sanding, I took Miss Mustard Seed's Tough Coat and covered the table in two coats. This coating is protective against water and food, but also has a matte finish. I wanted to use a matte finish to cut the shine from the glue, so this seemed like the perfect solution.

After the first coat, I waited 2 hours and added a second coat. While applying, it looks a little milky white but dries clear.
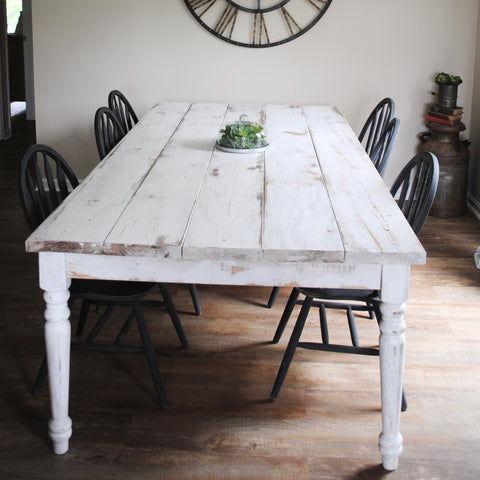
Y'all, I am IN LOVE with this finished product. This table was definitely a labor of love, but every step was important. I'm so happy we decided to stain it before painting; you can see here the layers of the stain and wear on the wood. The two different shades of white added to the effect of an older table with multiple coats of paint over the years.

I'd love to hear your thoughts! Have you painted a table with so many steps and layers? Will you attempt after this DIY lesson? Let me know in the comments!
**Blog post courtesy of Taylor from Sugar and Succulents.
**Blog post courtesy of Taylor from Sugar and Succulents.


6 comments:
This is so neat! I am currently refinishing my dining table and this is how I want the bottom of mine! Great post!
Thanks Daraka! It was definitely a labor of love; but well worth it!!
This dining table is so neat and beautiful.Looks better.Thanks a lot for sharing this.I love hear from you and happy to read your blog.How you finished the whole table works so neatly.Appreciate you.Many writing resources are providing the different types papers and essay for the students. A reliable custom essay writing service offers help with essay writing. Best writing resources is not easy to find ,that are evaluated by you and get help from well known writers.
The process of turning your recently built farmhouse table into the finished one i am in love with this finished product. This DIY tutorial to paint a table with so many steps and layers.
July 2019 Calendar Printable
Thank you so much for such an informative piece of information :)
If anyone interested similar one's have a look here
farmhouseall blog
Thanks
Hanging chair is my favorite style among all chairs, you can learn more about furniture by Emd on it.
lets do it, link it emdfurniturecenter.com and you can learn more furniture.
Post a Comment