April FREE Printable

Dress up your home with this perfect spring print!

Fiddle Leaf Fig

See how to style your fiddle leaf fig!

Coconut Lazy Day Cake

Try this fast and easy recipe this week!

DIY Chunky Knit Throw

Learn how to create this cozy throw for your home!

Mini Living Room Makeover

A makeover shopping your own home!

Dec 5, 2015

DIY Trendy Christmas Gifts/Tassel Necklaces


I love making jewelry, and I usually make a few Christmas gifts for my close female friends and family. This year I decided to try my hand at making tassel necklaces. I've been seeing tassels on everything and all over the fashion blogs. I have been making jewelry for several years, but I think with some basic beading/jewelry making skills you can make your own! I will walk you through the steps I do to make these necklaces.


I used either embroidery floss or leather cord. (my pictures show the process with the embroidery floss but the process is essentially the same for the leather cord)


Remove label and open the floss, keeping it in a big loop.


I wrapped my floss around my hand three times.


Then gather one end and begin wrapping with wire (I used 26 gauge) about ½ to ¾ of an inch from the top. Wrap it neatly around 6-8 times. You can also use metallic thread or twine to wrap your
 tassel.


With wire you'll want to twist it to keep the wire stable then trim and tuck ends. If using thread or twine you'll want to tie a knot, trim the ends, and secure them with a bit of glue.


Feed about 12” of wire through the loop at the top of the tassel and fold in half and twist


Once you've twisted the base of the wire now you can be creative with your beads
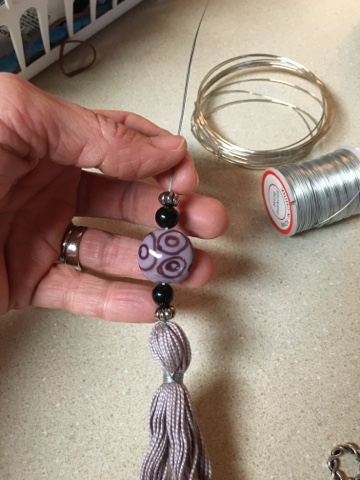


At the end of your beads you will want to use a crimp bead. Then feed the wire through a ring and back through the crimp. Bead and crimp it to secure, then clip the excess wire.


Now cut the bottom end of the floss ‘loop’.


Feed a long chain through your ring and admire your handiwork! I'm sure your friends will love their trendy gift especially since it was designed by you just for them!


If you liked this tutorial, make sure to check out my blog at Karen Says for more DIY's, recipes, fashion, and home decor articles! See you there! 😊


Dec 4, 2015

DIY Advent Calendar


It’s after Thanksgiving, so that means the countdown to Christmas has officially begun! I’ve been in such a festive holiday mood lately, and even decorated way earlier than I usually do! And by way earlier I mean before Thanksgiving, which never happens. I couldn’t resist this year! I have been listening to Christmas music, watching Christmas movies, and I’m almost done with my Christmas shopping…who am I!? I love Christmas, but typically I am a very last minute celebrator of the holiday.  I hold on to fall as long as I possibly can since it is my favorite time of the year. Maybe it’s being a part of this blogging community, and as a blogger I have to be ahead of my typical schedule. I’m okay with that! Sitting here working on my laptop with our Christmas tree lighting up the room…isn’t so bad.
My projects are underway for December, and I figured my DIY Advent Calendar would be the perfect way to end November and start December off right! Believe it or not, this is my very first time even making an advent calendar, so I just improvised with some things I already had. Hope you love it!

My office has these two DIY Chalkboards that I made hanging up above a thrifted cabinet I gave a makeover, and I thought this would be the perfect spot for my advent calendar to go.  I attached some red burlap ribbon across each chalkboard to clothespin my kraft activity envelopes to. I found these adorable little cutout trees to add also, and used my stamp set to stamp the numbers onto them.  I think keeping the colors neutral, with a pop of Christmas red works perfectly in my office!


I love that you can fill your advent calendar with daily holiday activities, dates with your better half, or random acts of kindness. There are so many fun ideas!
I am really excited to show you the rest of my Christmas décor! Hopefully I’ll be posting a full holiday home tour soon!

*****Blog post courtesy of Ashley at Little Glass Jar blog. Head on over to her blog to check out more inspiration and DIY projects.


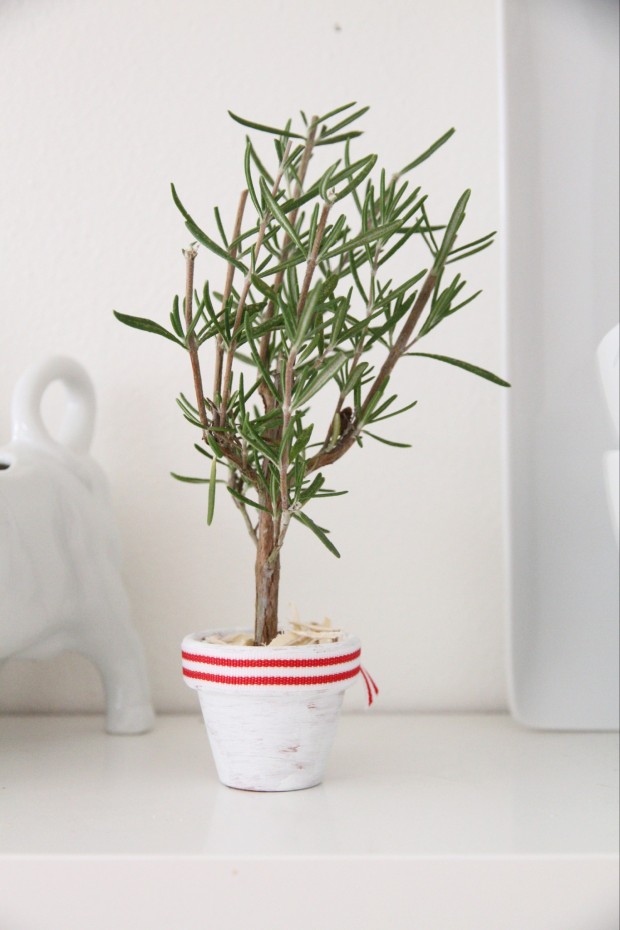
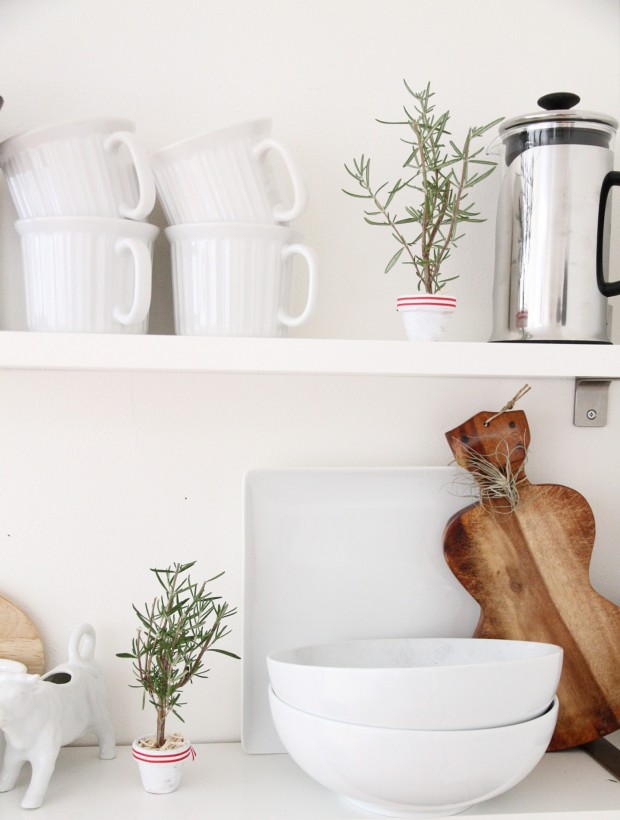
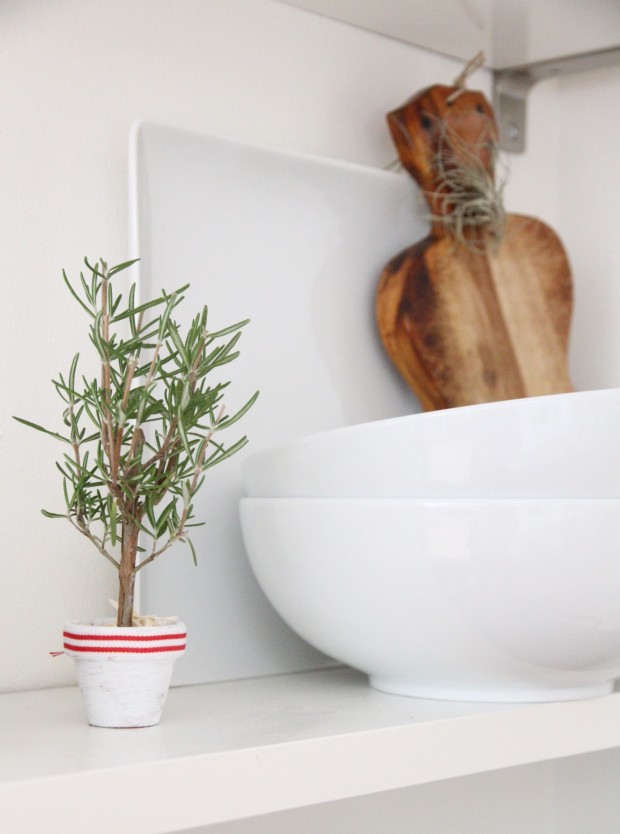
DIY Rosemary Christmas Tree


 The countdown to Christmas has begun.  We have started some of our traditions around our place and I can not get over how much I love this time of year.  As I was folding the laundry the other morning, I sat on my kitchen floor with little shirts and socks surrounding me.  I had the glow of Christmas lights coming from each room, sweet carols in the background and my best girl by my side.  I was overwhelmed by how sweet that moment was.  There are moments when this time of year is bittersweet because of those I miss and the traditions that are no longer in tact. Even so, it really is a beautiful time of year because of the reason we celebrate this season and that resounds over all the rest.


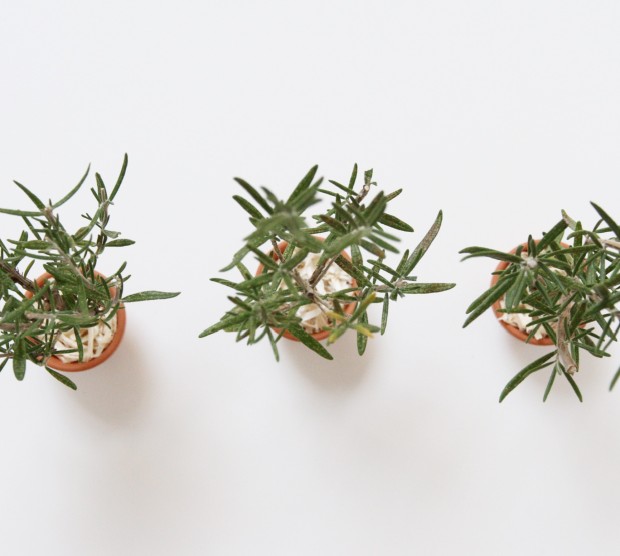
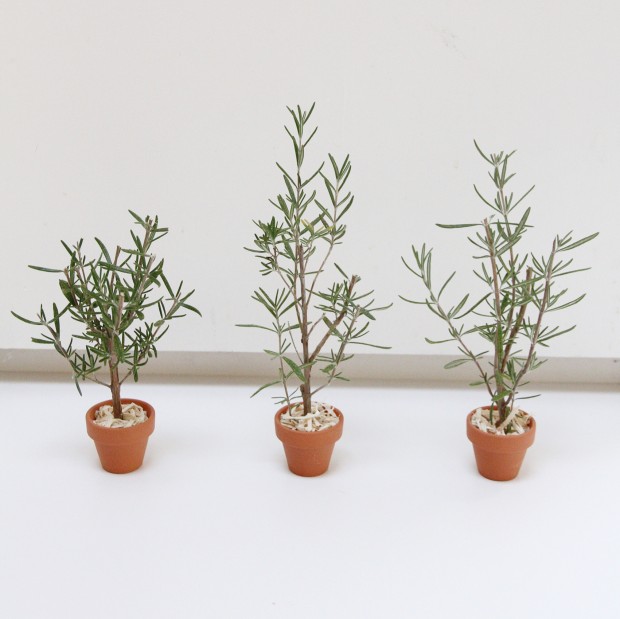
Christmas trees are a wonderful symbol of the season and they are everywhere in my home.  Last year I shared a tree made with Chenille Stems here. This year I wanted to make some version of a topiary tree using the Rosemary we had from our garden.  I have noticed in the past that as I cut this herb, it will last a long time and does not shed all over the place.  It dries in tact (for the most part) so is simple to use for longer periods of time.


I have seen similar ways of making topiaries so that you can actually promote the growth of the Rosemary.  I on the other hand, wanted to make something purely decorative using what we had around.
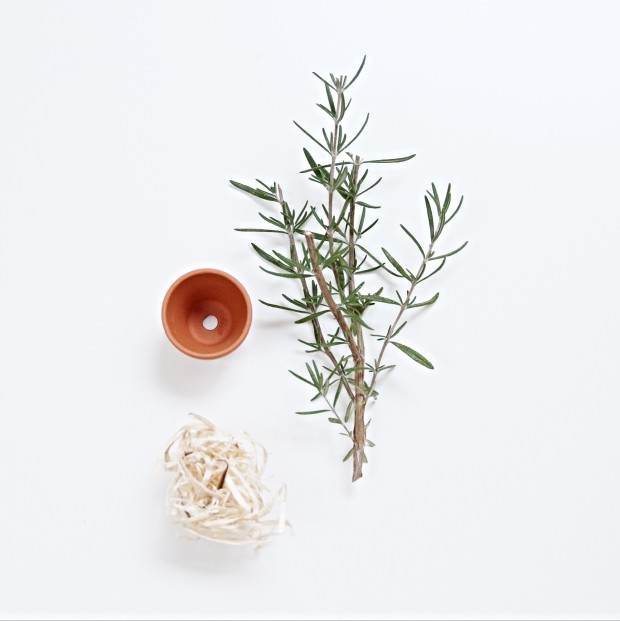
You will need…

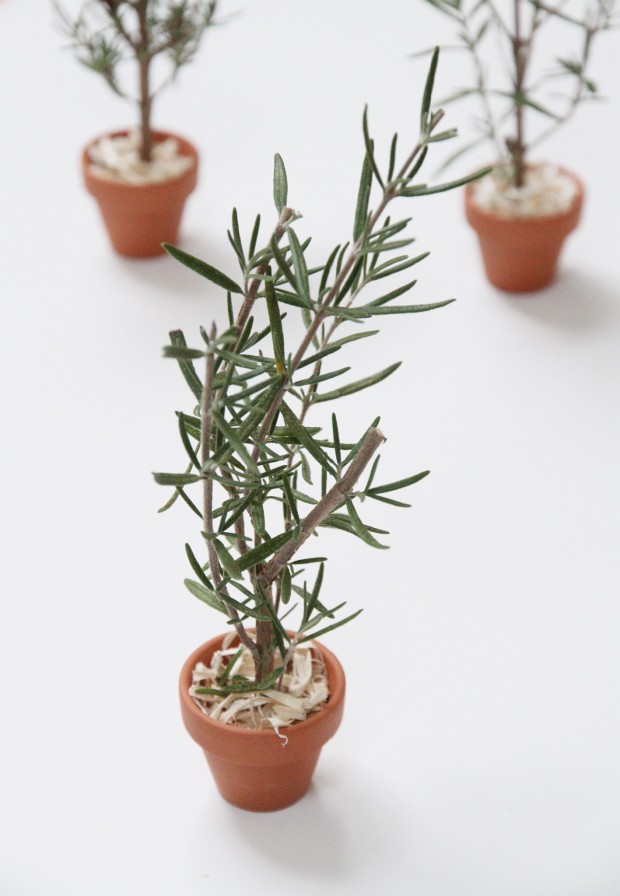
  • A small bunch of Rosemary – cut in the shape of a tree (tallest at the top and slowly trimmed shorter at the bottom.
  • a small clay pot (size will depend on your Rosemary bunch – I went with the smallest size possible).
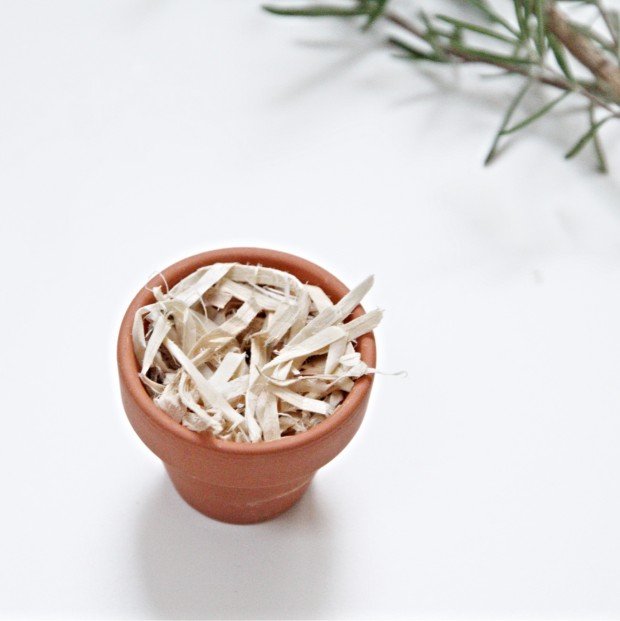
  • Raffia basket filler (I had this left over from Easter and it worked great, but you could use moss, styrofoam, real dirt, etc…).
To make these sweet little trees, you will…

  • Insert your filler.  I stuffed mine as much as possible and then made sure it was level with the clay pot.


  • Insert the stem of the Rosemary straight into the filler.


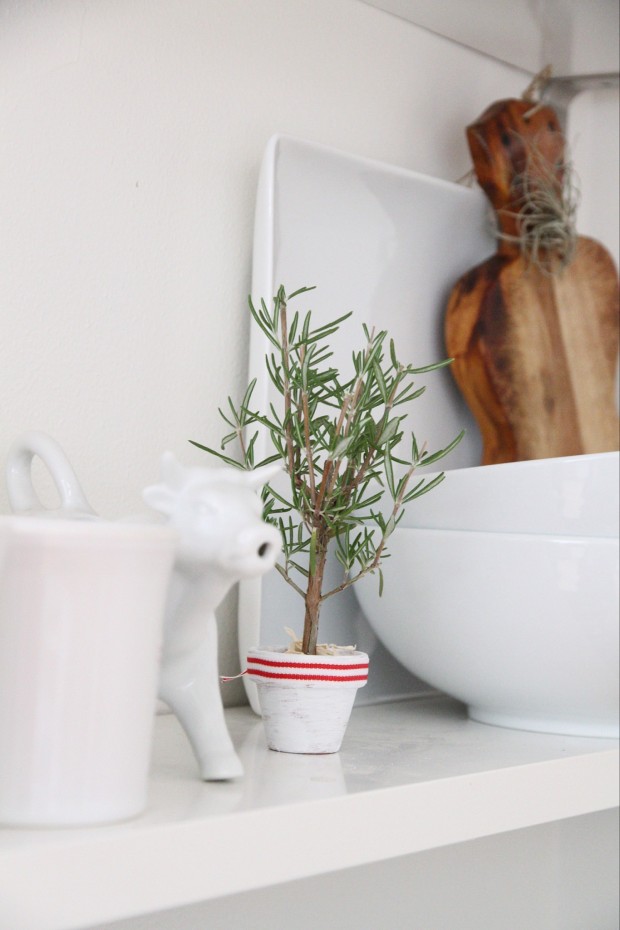
And that is it! I did go a step further and use some bright white chalkpaint on the clay pots along with an embellishment of white/red striped ribbon. This entire project cost less than a dollar for each tree.


They look perfect perched on a shelf and add that little touch of Christmas wherever you put them…


****Blog post courtesy of Annie at Zevy Joy blog. Head on over for more Christmas decor and recipe inspiration!

Homemade Egg Nog Shooters


When my husband and I first met, we realized we had tons in common.  Amongst other things was our appreciation for Tequila.  Don’t get me wrong, we certainly were not going out every week and having shots till we passed out, it was just really nice that we both had an affinity for the taste of hard liquor.  Shortly after that discovery, I found out he was a shot glass collector. OK, he was the one.

We continued to add to his collection and have all sorts of shot glasses. Some are really sweet and some are quite inappropriate, the sassy ones are by far the best.
I had this vision that because we loved Tequila so much, we’d start having little tasting parties.
I saw myself being blindfold by a friend, taking a first sip with my pinky up (of course) and knowing it was reposado.  What a dream!

It’s been a few years since then, the party hasn’t happened, my friends still hate Tequila and my allergies flared from the mere thought of opening up that cabinet. Yikes.  

I figured if not for Tequila, then Rum!   I made these Eggnog shooters that are semi healthy, easy to make, the perfect portion and will allow me to bring a few glasses out.  While I do I buy eggnog from my local grocery store, I’m not quite entirely happy with the taste.  I find it to be somewhat heavy and overly concentrated.  If you’re in the mood for something delish and a bit lighter, then this recipe has your name all over it.    


******Blog post courtesy of Keila at Home & Hydrangeas. Head on over to her blog for the complete recipe, and more mouth watering photos!

Related Posts Plugin for WordPress, Blogger...